

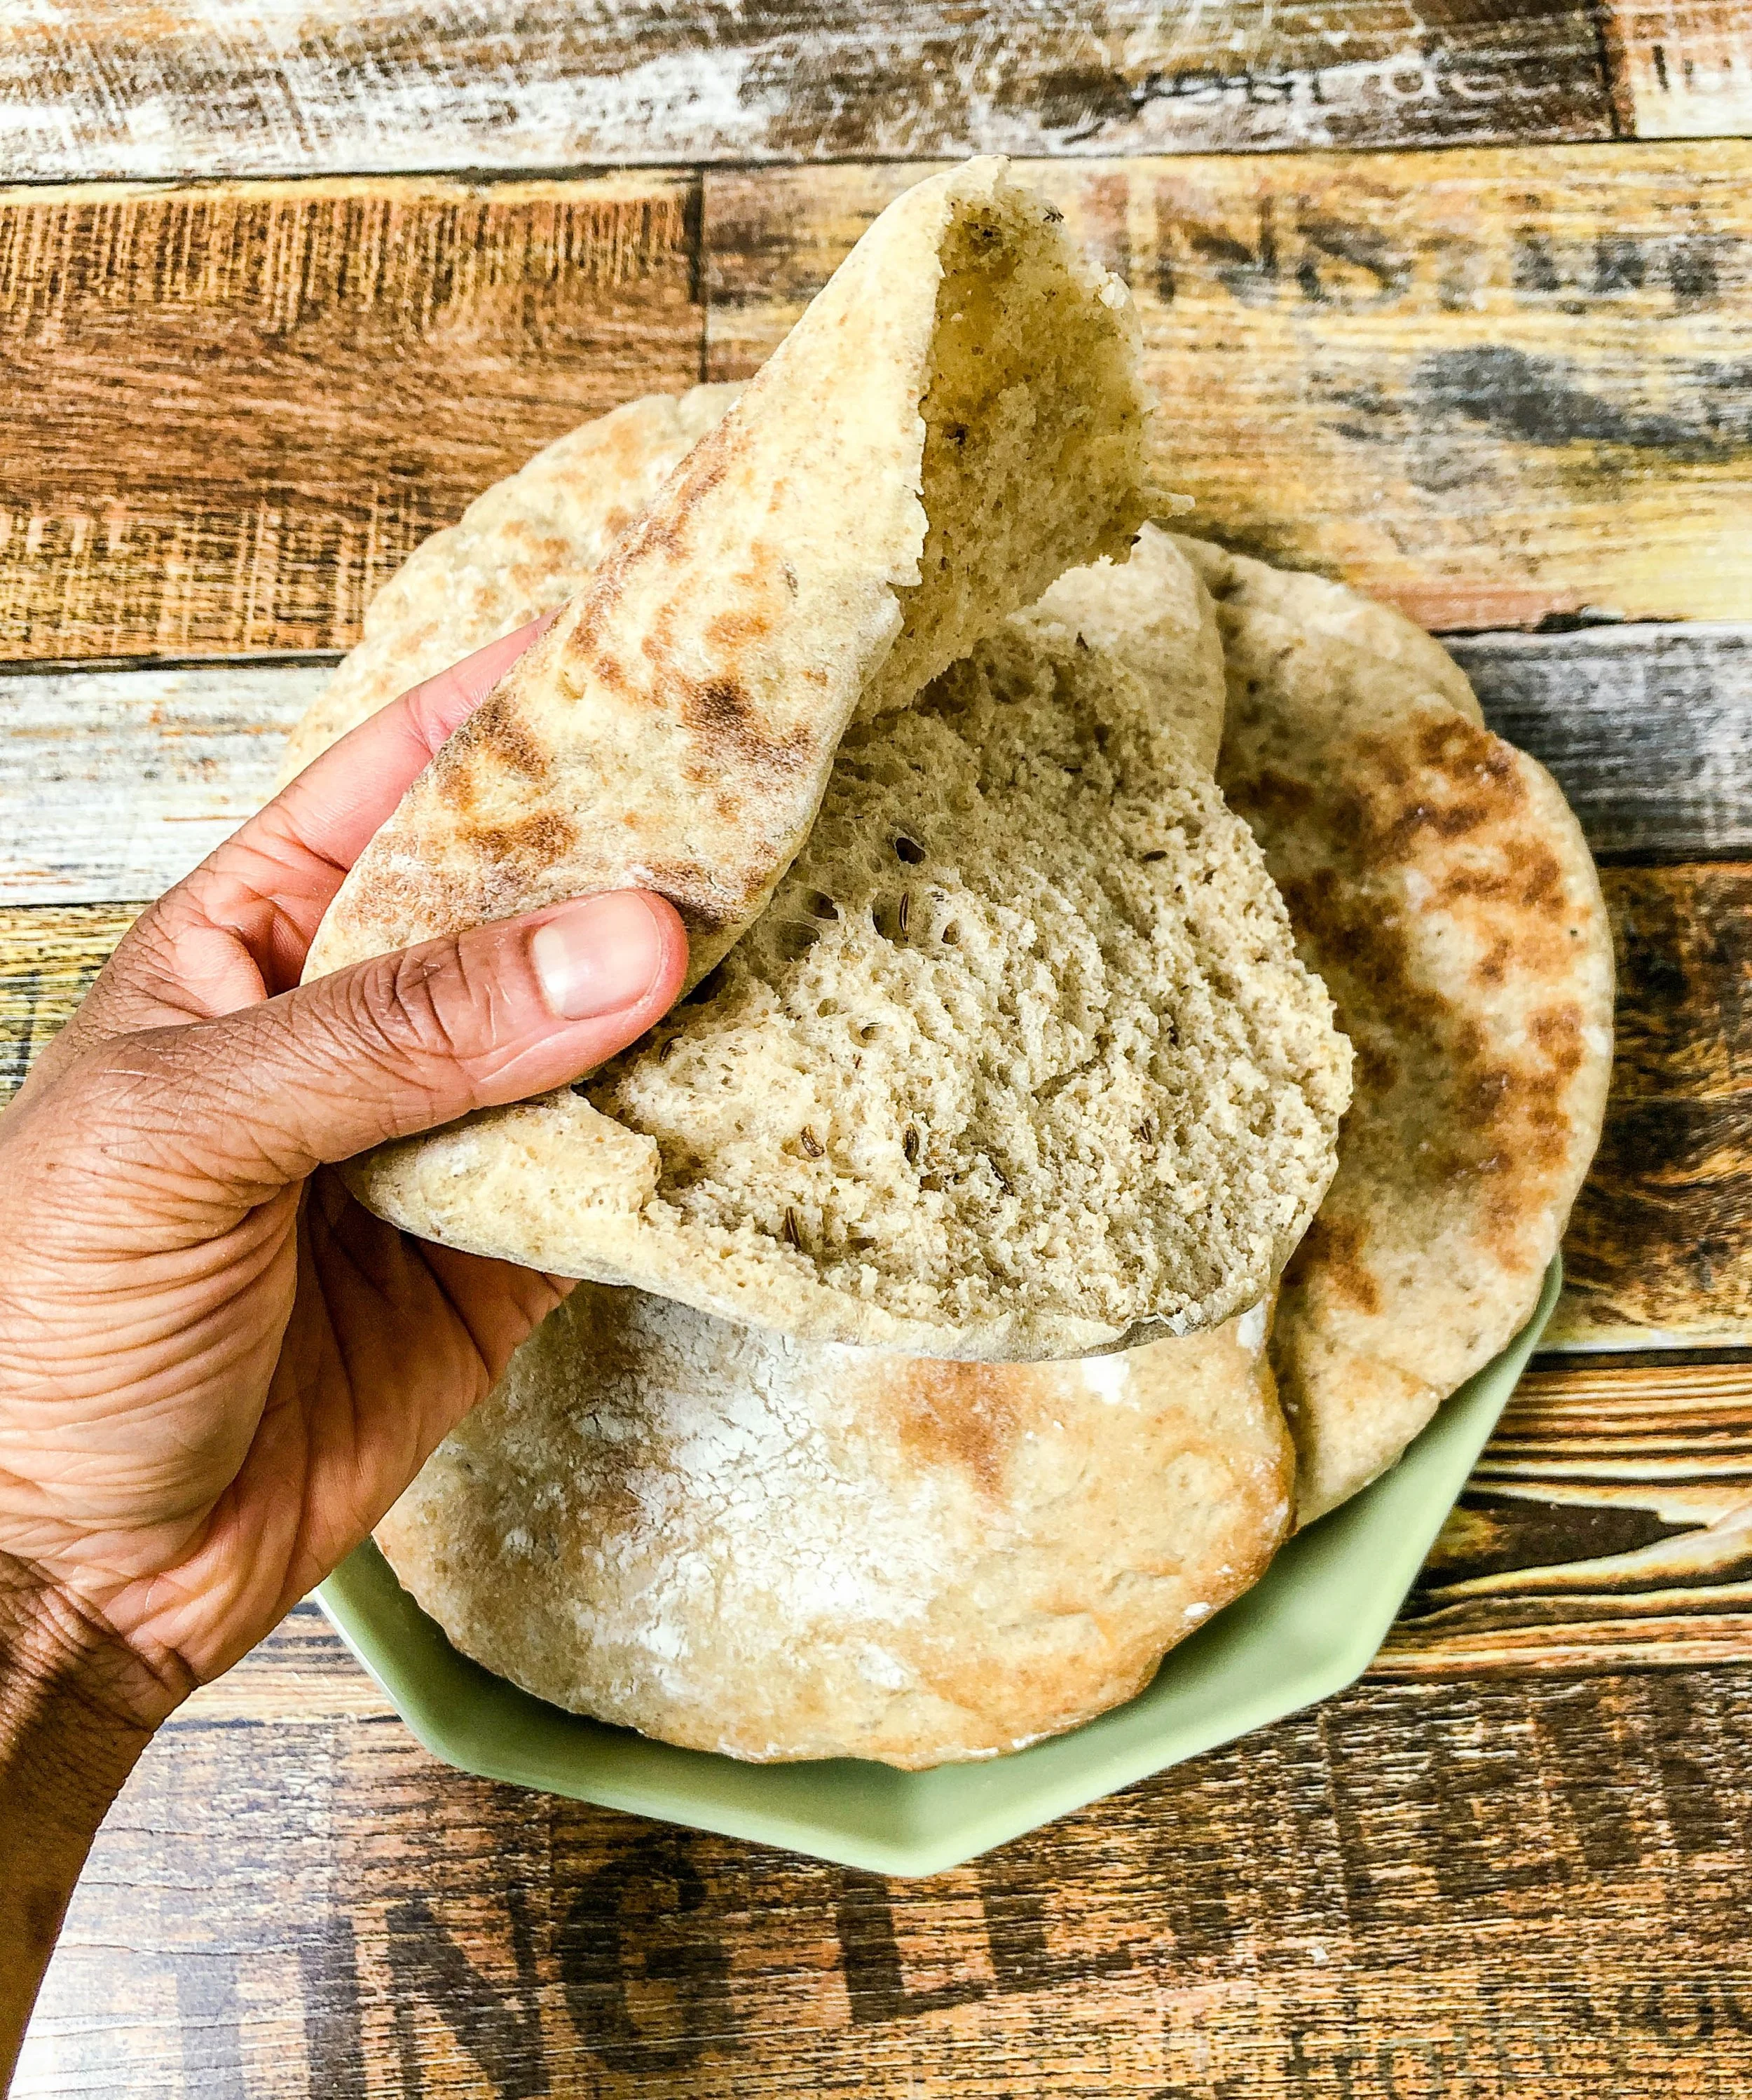
Rye Pita
Fluffy with a gentle rye flavor and incredibly soft, this is one of the best rye breads I’ve ever eaten.
Rye Pita
Makes 9
I love how flavors can evoke strong memories. Rye bread for me makes me think of diners where rye toast is my ideal and massive pastrami sandwiches from Katz’s Deli where it was only as an adult that I understood rye was the superior bread choice. Rye is also, one of the best sandwich bread options in my personal opinion. These rye pitas were created so I could create the ultimate stuffed sandwich.
When I thought of what I wanted for these pita, I knew for certain that I wanted them to be slightly acidic to help their ability to stay fresh and amp the rye flavor just a bit. To accomplish this, I made and added a preferment to the dough. However, the preferment is not needed and the dough can be made straight without it. add the rye flour, yeast and water to the dough from the beginning and knead for 10 minutes total.
“Recipe Tips:
*1. In place of the dark brown sugar you can also use 62g (2.5 T) Korean rice syrup. Combine the syrup with the water when making the dough.
**2. I prefer to cook the pita on the stove as my oven does not get hot enough. To cook in the oven, preheat to 260 C / 500 F with a pizza stone or steel (a heavy bottom baking sheet can also be used) inside for at least 45 minutes. Working 2 – 3 pitas at a time, carefully place top side down onto the hot surface and cook for 1.5 – 2.5 minutes or until puffed and very lightly colored. Pita cooked in the oven should not take on much color. If cooked for too long, the pita will dry out.”
Ingredients
Preferment
98g (0.75 c) dark rye flour
1/16 t (pinch) instant yeast
90ml (6 T) water
Dough
406g (3 c + 2 T) bread flour
30g (2 T) dark brown sugar, packed
10g (2.5 t) kosher salt
9g (2.25 t) instant yeast
215g (1 c + 1 T) water
8g (1 T) whole caraway seeds
Recipe Know-how
Preferment
1. In a small bowl combine the rye flour and yeast mixing well.
Add the water and stir until the flour has all been hydrated.
Cover loosely and allow to sit overnight at room temperature.
Overnight is between 12 – 18 hours.
Dough
2. In a large mixing bowl combine the flour, sugar, salt and yeast.
Add the water and mix to form a dough.
Turn out onto an unfloured work surface and knead for 7 minutes.
Flatten the dough and add the preferment and caraway seeds.
Seal the preferment and caraway seeds into the dough and then squeeze repeatedly with your hands to mix into the dough.
The dough will become loose and sticky with the preferment added because there is very little to no gluten in the rye flour.
You will need to repeatedly scrape your hands and the work surface during mixing and kneading to ensure the dough is well mixed.
Once homogeneous, use the slap and fold method to knead the dough for 5 minutes longer.
To perform a slap and fold: place your hands at the “3 o’clock” and “9 o’clock” positions of the dough. Using your fingertips, lift the dough off the surface. “Slap” the bottom of the dough against the work surface and fold/throw the top over. Quickly remove your hands and place them at the “12 o’clock” and “6 o’clock” positions, lift and turn 90 degrees to the right and repeat the motion by slapping and folding the dough over itself. Repeat for as long as needed.
Return to the mixing bowl, cover and bulk ferment for 1 hour.
3. Turn the dough onto a lightly floured surface.
Divide into 9 equal portions.
Prepare a “resting area” on the work surface that has been sprinkled moderately with flour.
Working one portion at a time preshape each piece.
Preshape: flattening the dough into a circle. Starting at the point directly across from you, pull out slightly then fold over the center. Turn and repeat until you have reached the beginning again. Flip the folds on to the bottom and round each ball to seal. Set onto the floured resting area and repeat with the remaining portions.
Cover the balls loosely and rest for 15 minutes.
On a floured work surface, working one portion at a time, roll out the dough to a round that is 14 – 15.25cm (5.5 – 6 in) in diameter and 1.25cm (0.50 in) thick.
Use additional flour as necessary to prevent sticking.
Return to the resting area adding additional flour to the surface to prevent sticking.
Repeat with the remaining dough.
Cover the pita loosely and allow to rise for 20 minutes.
**4. 5 minutes before the rise time is finished, place a pan over medium-low and heat until the rise time is up.
Have a large plate ready to hold the finished pita. You do not need to cover them.
5. Working one at a time, place a pita top side down onto the pan.
If the pita sizzles aggressively when placed in the pan, reduce the heat to low.
Cook for 30 seconds before flipping. Flip the pita every 30 seconds for 3 – 4 minutes or until lightly golden on both sides and the pita has puffed.
The pita should puff within the given time period. if it does not, it will still be fully cooked but may not have a pocket to fill.
Remove to the plate and repeat with the remaining pita.
6. Serve.


