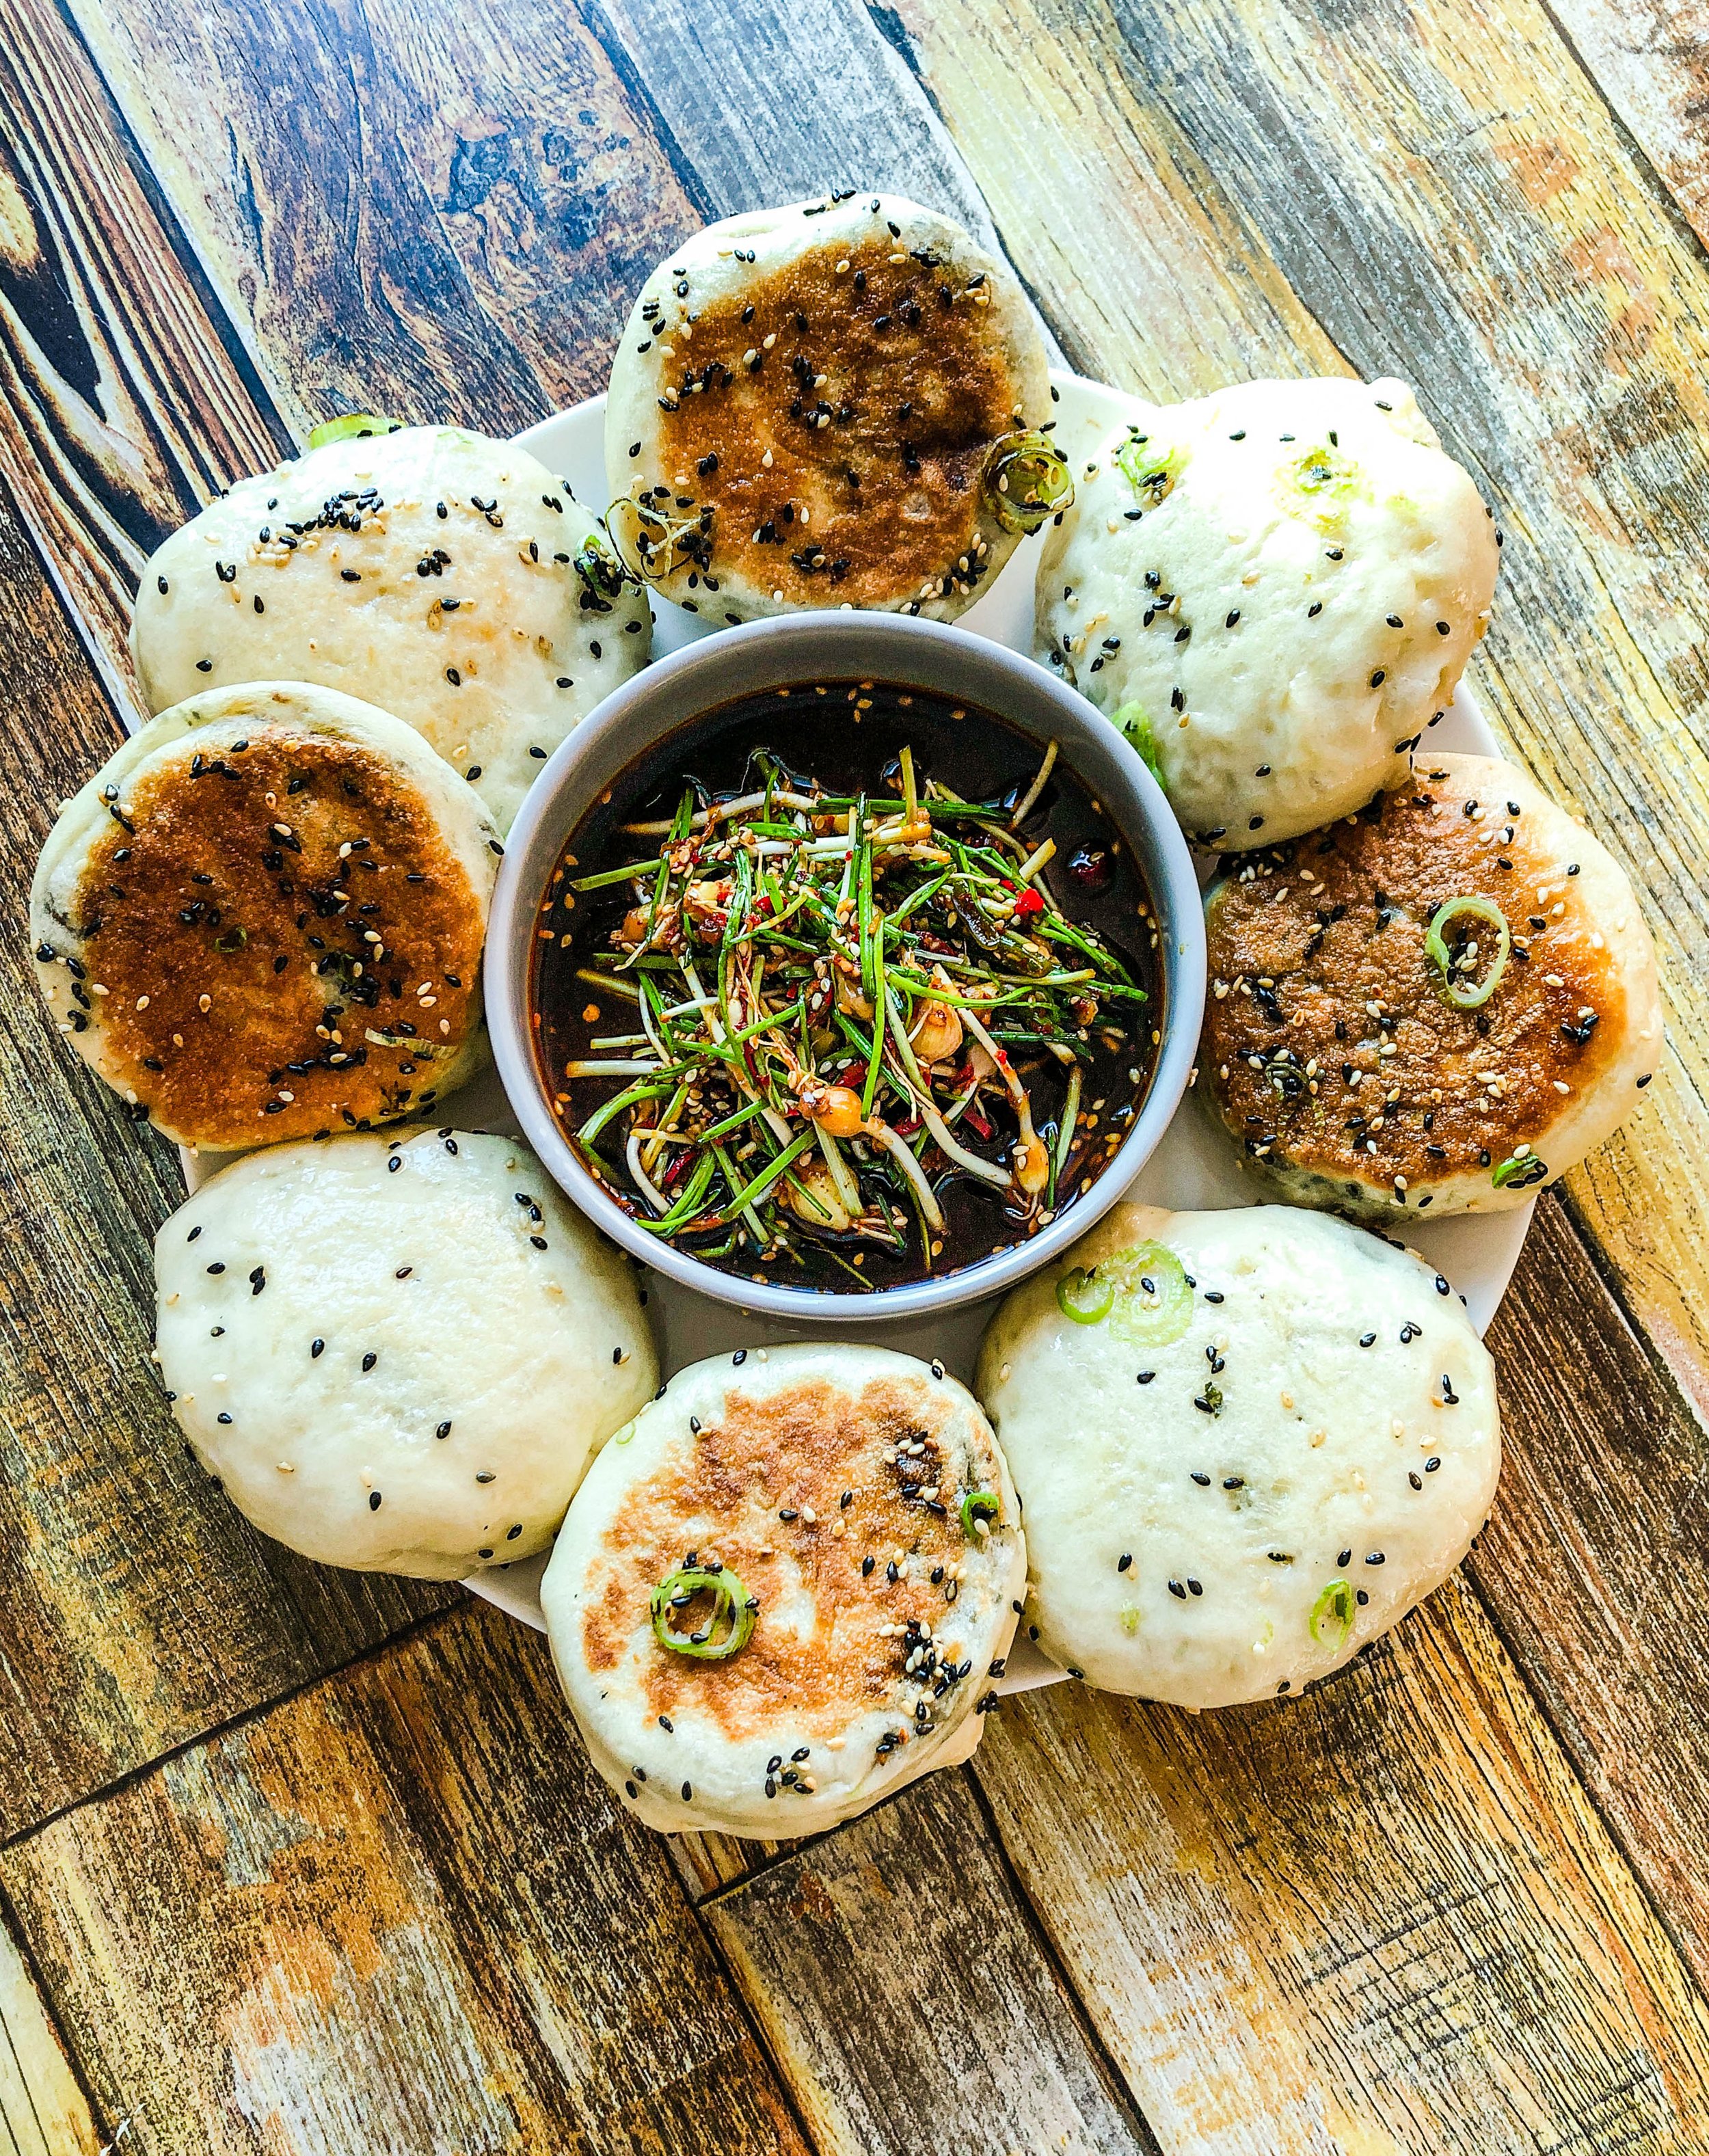
Jjajang Ppang - Jjajang Buns
Jjajangmyeon or Korean black bean noodles in a handheld bun.
Jjajang Ppang - Jjajang Buns
Makes 12
The inspiration for this came from looking to serve jjangmyeon leftovers in a different way. The day I began recipe development, Just One Cookbook posted a recipe for Japanese kare pan or curry bread. A light bulb went off in my head and I got to work. The dough and filling/sealing method are adaptations of Just One Cookbooks’ original recipe found here. These do take a bit of time and have a little bit of a learning curve when first doing the filling and sealing portion but, it is worth the time and it is much easier the second time around.
“Recipe Tips:
1. When I know I’m going to make jjajang ppang, the same day I make the jjajang sauce, I separate out what I will need for the filling, prepare and refrigerate it so it is ready when I need it.
2. I’m typically not in any rush to make the dough for this recipe and spread the process over 2 days (Day 1 – make the polish, Day 2 – Made the dough and refrigerate overnight) then cook the jjajang ppang on the third day. However, making the poolish and then the dough can be done overnight (Day 1 – make the polish; next day, make and cook the dough).
3. The cake flour can be subbed with 61g (0.50 c) AP flour and 11g (1 T) potato or cornstarch.
4. I cook these two ways, frying and baking, you can make the decision on which option you’d like to try or fry half and bake half like I usually do. The flavor is slightly different in each with the fried having a gently crisp but not oily outer crust and the baked being slightly sweeter and fluffy. I do not like to coat the fried version in panko breadcrumbs as I do not prefer it however, if you would like to, I do leave instructions in the written recipe.”

Ingredients
Poolish
75ml (1/3 c) water
50g (6 T) bread flour
1/8 t instant yeast
Jjang filling
575g (2 heaped c) jjang sauce (my favorite recipe), veg and meat cut a little smaller
0.25 t kosher salt
2 t water
1.5 t potato starch
Dough
112ml (0.50 c + 1 T) milk, warmed slightly
3g (0.75 t) instant yeast
244g (1.75 c + 2 T) bread flour
72g (0.50 c + 1T) cake flour
35g (2 T + 1 t) granulated sugar
6g (1.5 t) kosher salt
35g (2.5 T) butter, softened
Recipe Know-how
Day 1
Poolish
1. In a medium mixing bowl place the poolish ingredients.
Mix the ingredients well. Cover with plastic wrap
Allow to sit overnight (at least 12 hours).
Jjang filling
2. Bring the jjang sauce to a simmer with the salt.
In a small bowl, combine the water and starch.
Add to the jjang sauce, stirring until the sauce has thickened.
Taste for seasoning adjusting salt as necessary.
Refrigerate overnight.
Day 2 – Dough and cooking
3. In a small bowl, combine the milk and yeast with a pinch of sugar.
Allow to sit for 5-10 minutes or until the mixture begins to bubble some.
Visual cues are the yeast beginning to create bubbles, foam and or create a “bundle” in the container.
If the yeast shows no activity it may not be fresh and you should begin this step again.
4. In a large mixing bowl, combine all of the dry ingredients well.
Make a well in the center of the bowl, adding the yeast mixture and the poolish.
Using a spoon or your fingers, mix the liquid ingredients.
Begin mixing in the dry ingredients to form a medium soft dough.
If the dough is still dry or too hard, add an additional 1 T of water to create the right consistency.
Pour dough out onto an un-floured work surface and knead for 5 minutes.
Place the dough back into the mixing bowl and add the softened butter.
Squeeze the butter into the dough with your hands until a cohesive dough is formed once again.
The dough will break and separate when the butter is added. This is normal! Continue mixing it until it comes together.
This step can be done on the work surface as well.
Turn the dough out onto an un-floured work surface and knead for 5 minutes longer.
Form the dough into a tight ball and place into a lightly oiled mixing bowl and cover with plastic wrap.
Allow to bulk ferment 1 - 2 hours or until doubled in bulk.
If desired, at this point, you can punch the dough down creating a tight ball, recover and refrigerate the dough overnight.
5. On an un-floured work surface, divide the dough into 12 evenly sized pieces.
Form the dough pieces into balls and cover. Allow to sit for 15 minutes.
If using refrigerated dough, allow to sit for 20 minutes before moving on.
Working one piece at a time on an un-floured work surface, take a ball of dough and place it seam side up in front of you.
Flatten into a 9 cm (3.5 in) circle with your hand.
Fold the left side into the middle, pressing well. Fold the right side over the newly created seam and press well to make a seam.
Fold the top into the middle, pressing well to make a seam. Fold the bottom over the seam and press well.
Place the dough seam side down on the work surface. Press well with your hand to flatten.
Flip the dough over again and using a rolling pin, roll to a 12cm (4.5 in) circle.
At this point, the dough will likely resist rolling but do the best you can, when you move the circle of dough to be put under the plastic, it will likely shrink back, that is ok.
Place under plastic wrap and repeat with all of the remaining pieces of dough.
Allow the dough to sit for 10 minutes.
6. Remove the jjang filling from the fridge.
Line a rimmed baking sheet with a piece of parchment and set aside.
7. Working one piece at a time take one of the dough rounds and place it on an un-floured work surface.
Using a rolling pin, gently roll out the edges of the dough round to make an 12cm (4.5 in) round.
The center should be slightly thicker and have a slight hump.
Place 1 – 1.5 T of the filling int the center of the dough.
On your first try I would err on the side of under filling the ppang a little bit to get the hang of ensuring a proper seal.
Bring the sides together being sure that NONE of the filling touches the edges. Press the seam well along the entire length of the ppang with your fingers.
Filling on the edge in any way will prevent a proper seal. Consequently, if you choose to fry the jjang ppang, they will explode.
Fold the seam to the right or left and press again along the entire length, forming a double seal.
Place the ppang seam side down on the prepared pan.
To panko coat for frying - optional: Brush the finished ppang in egg wash and roll in panko breadcrumbs then place on the prepared pan.
Work through all of the remaining dough and filling.
Loosely cover the pan with plastic wrap and allow ppang to rise 45 – 60 mins or until they have increased in size about 1.5 times.
8. To bake ppang:
Preheat oven to 190 C (375 F).
Bake 12 – 15 minutes rotating the pan halfway through.
Cool 2 minutes before serving.
9. To fry ppang:
Line a large plate with paper towel and set aside.
Fill a medium pot a little less than half full of frying oil (vegetable, canola).
Heat the oil to 165 C (330 F).
Gently lower 3 - 4 ppang into the oil.
This is a low frying temperature so there will not be a lot of violent bubbling.
The ppang will expand as they fry. As such, do not overcrowd the pan to allow for proper growth and to prevent dropping the oil temperature too much.
Using chopsticks to turn often, cook the ppang for 3 – 5 minutes or until golden brown on all sides.
You will have to hold the ppang in place for a few seconds on each side to brown evenly.
Repeat with remaining ppang until all have been cooked.
10. Serve with danmuji and mu saengchae.