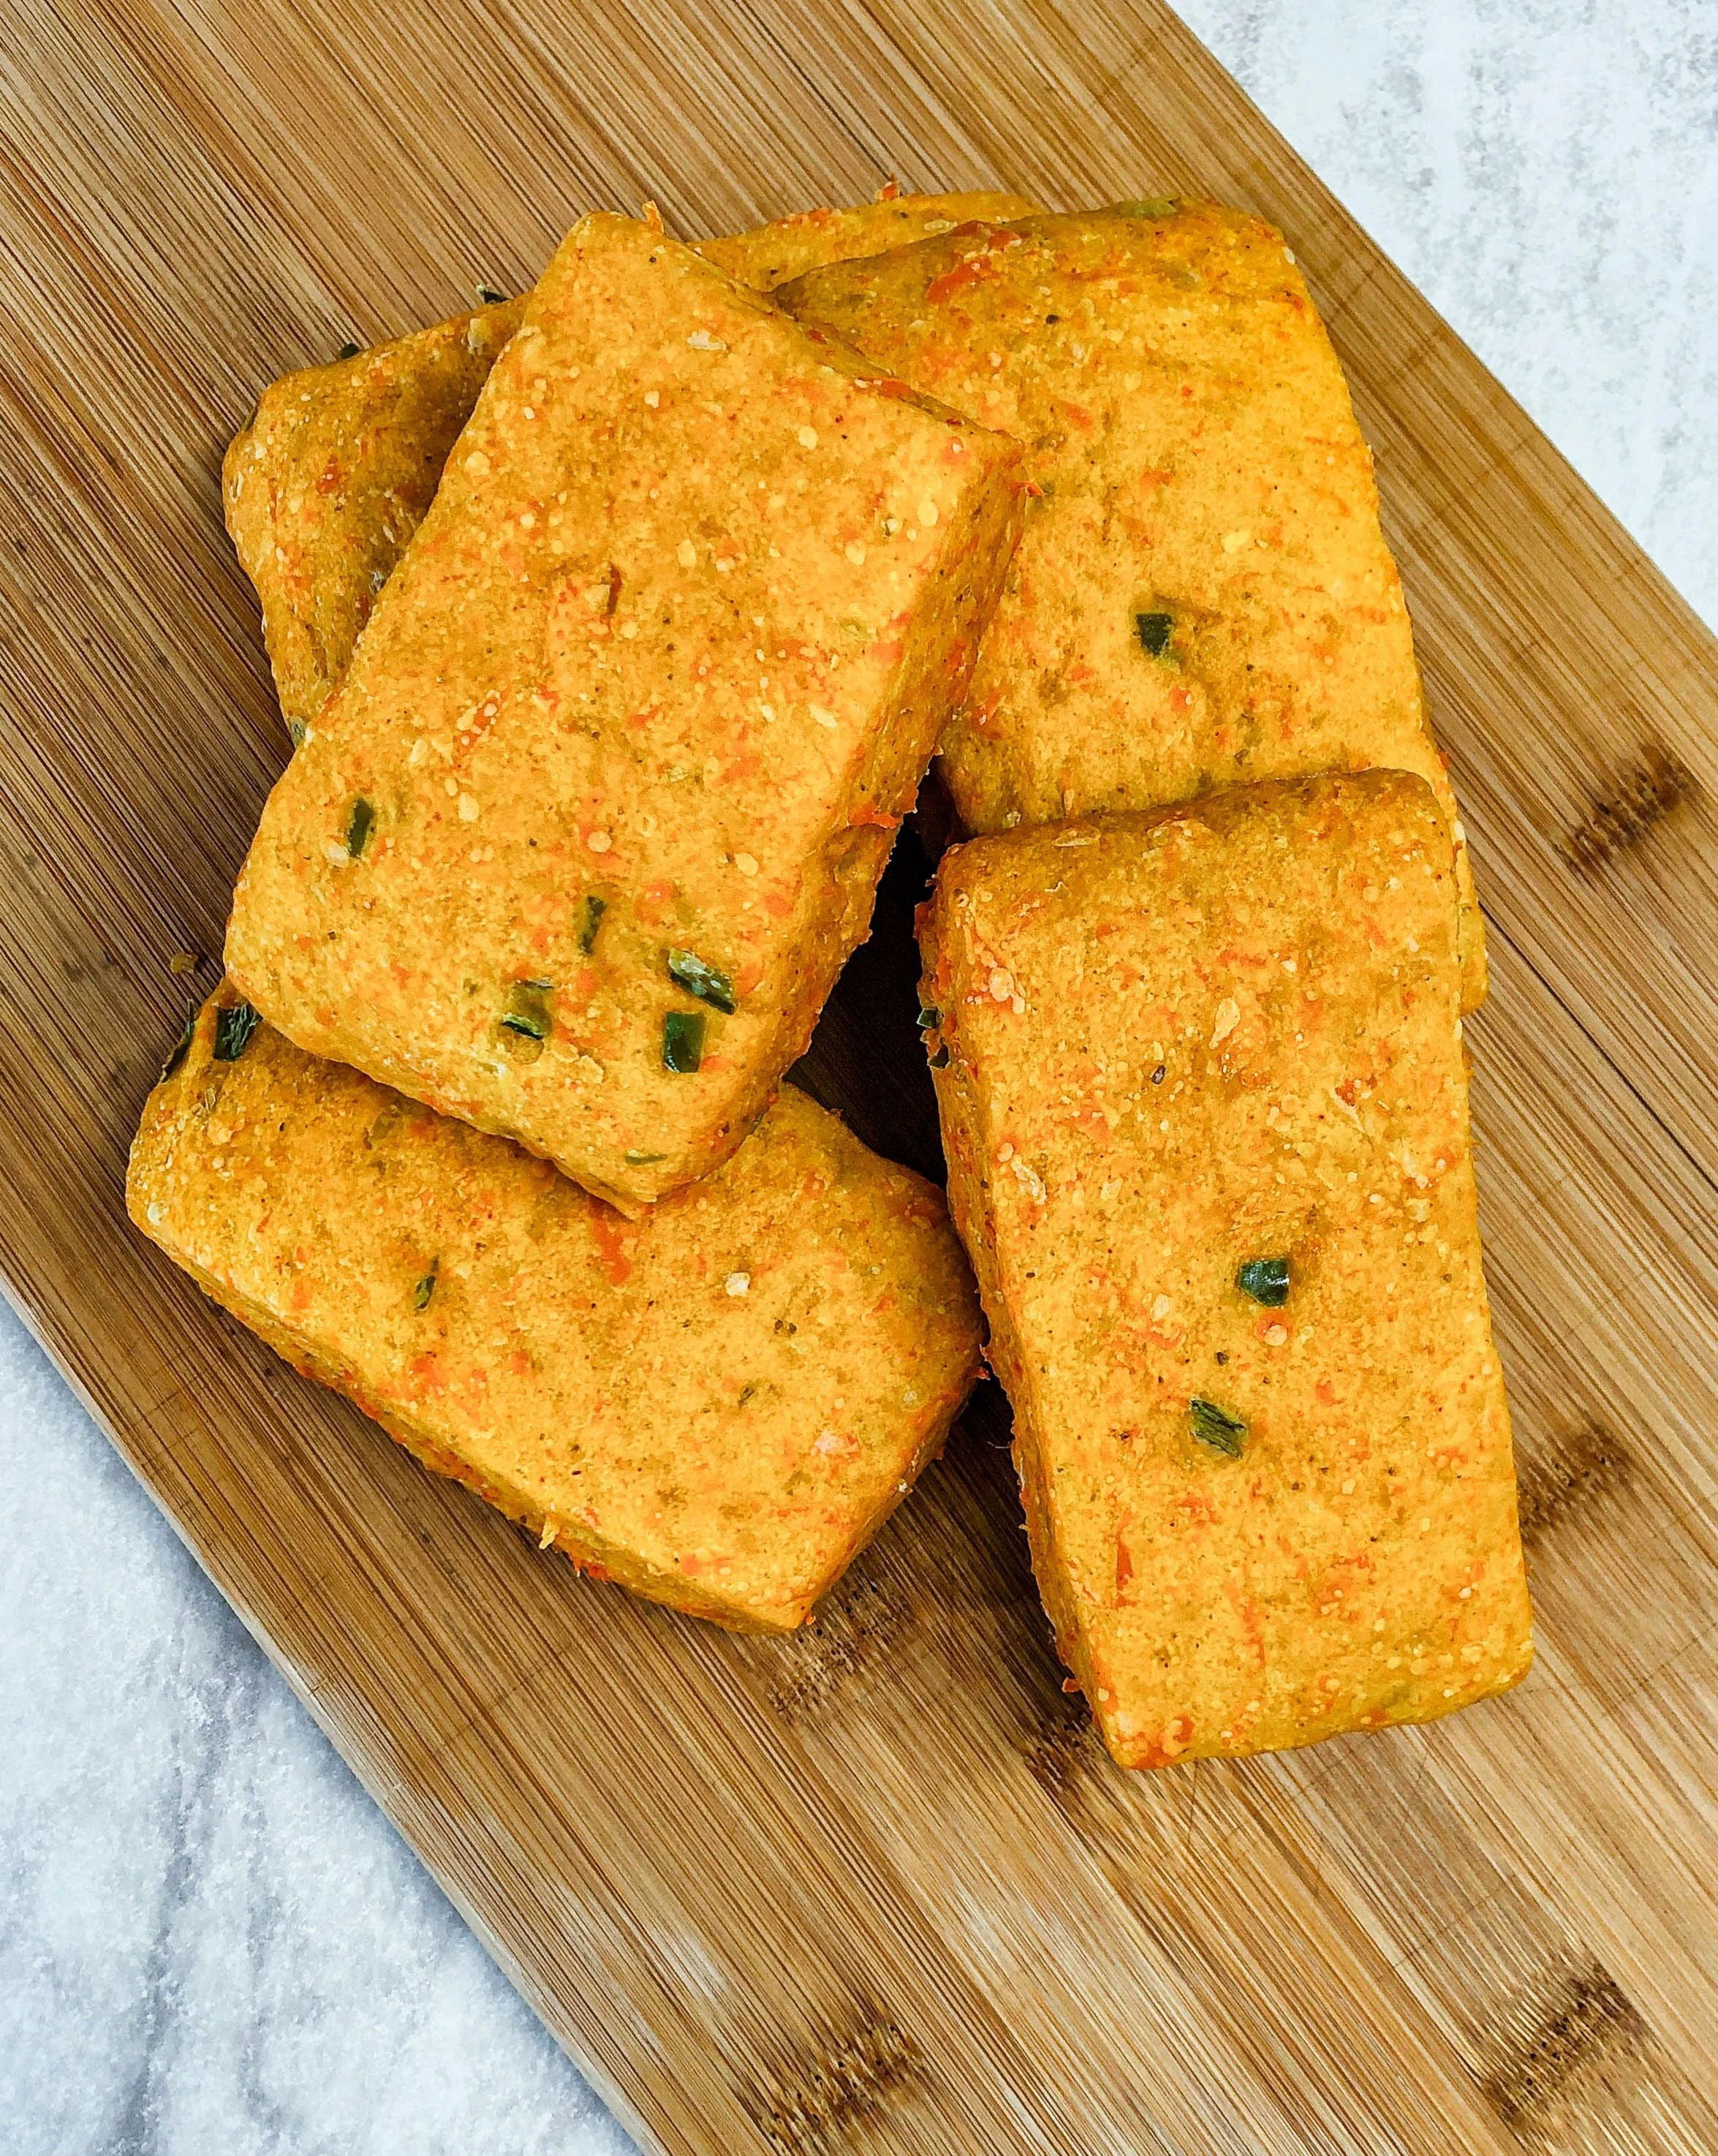
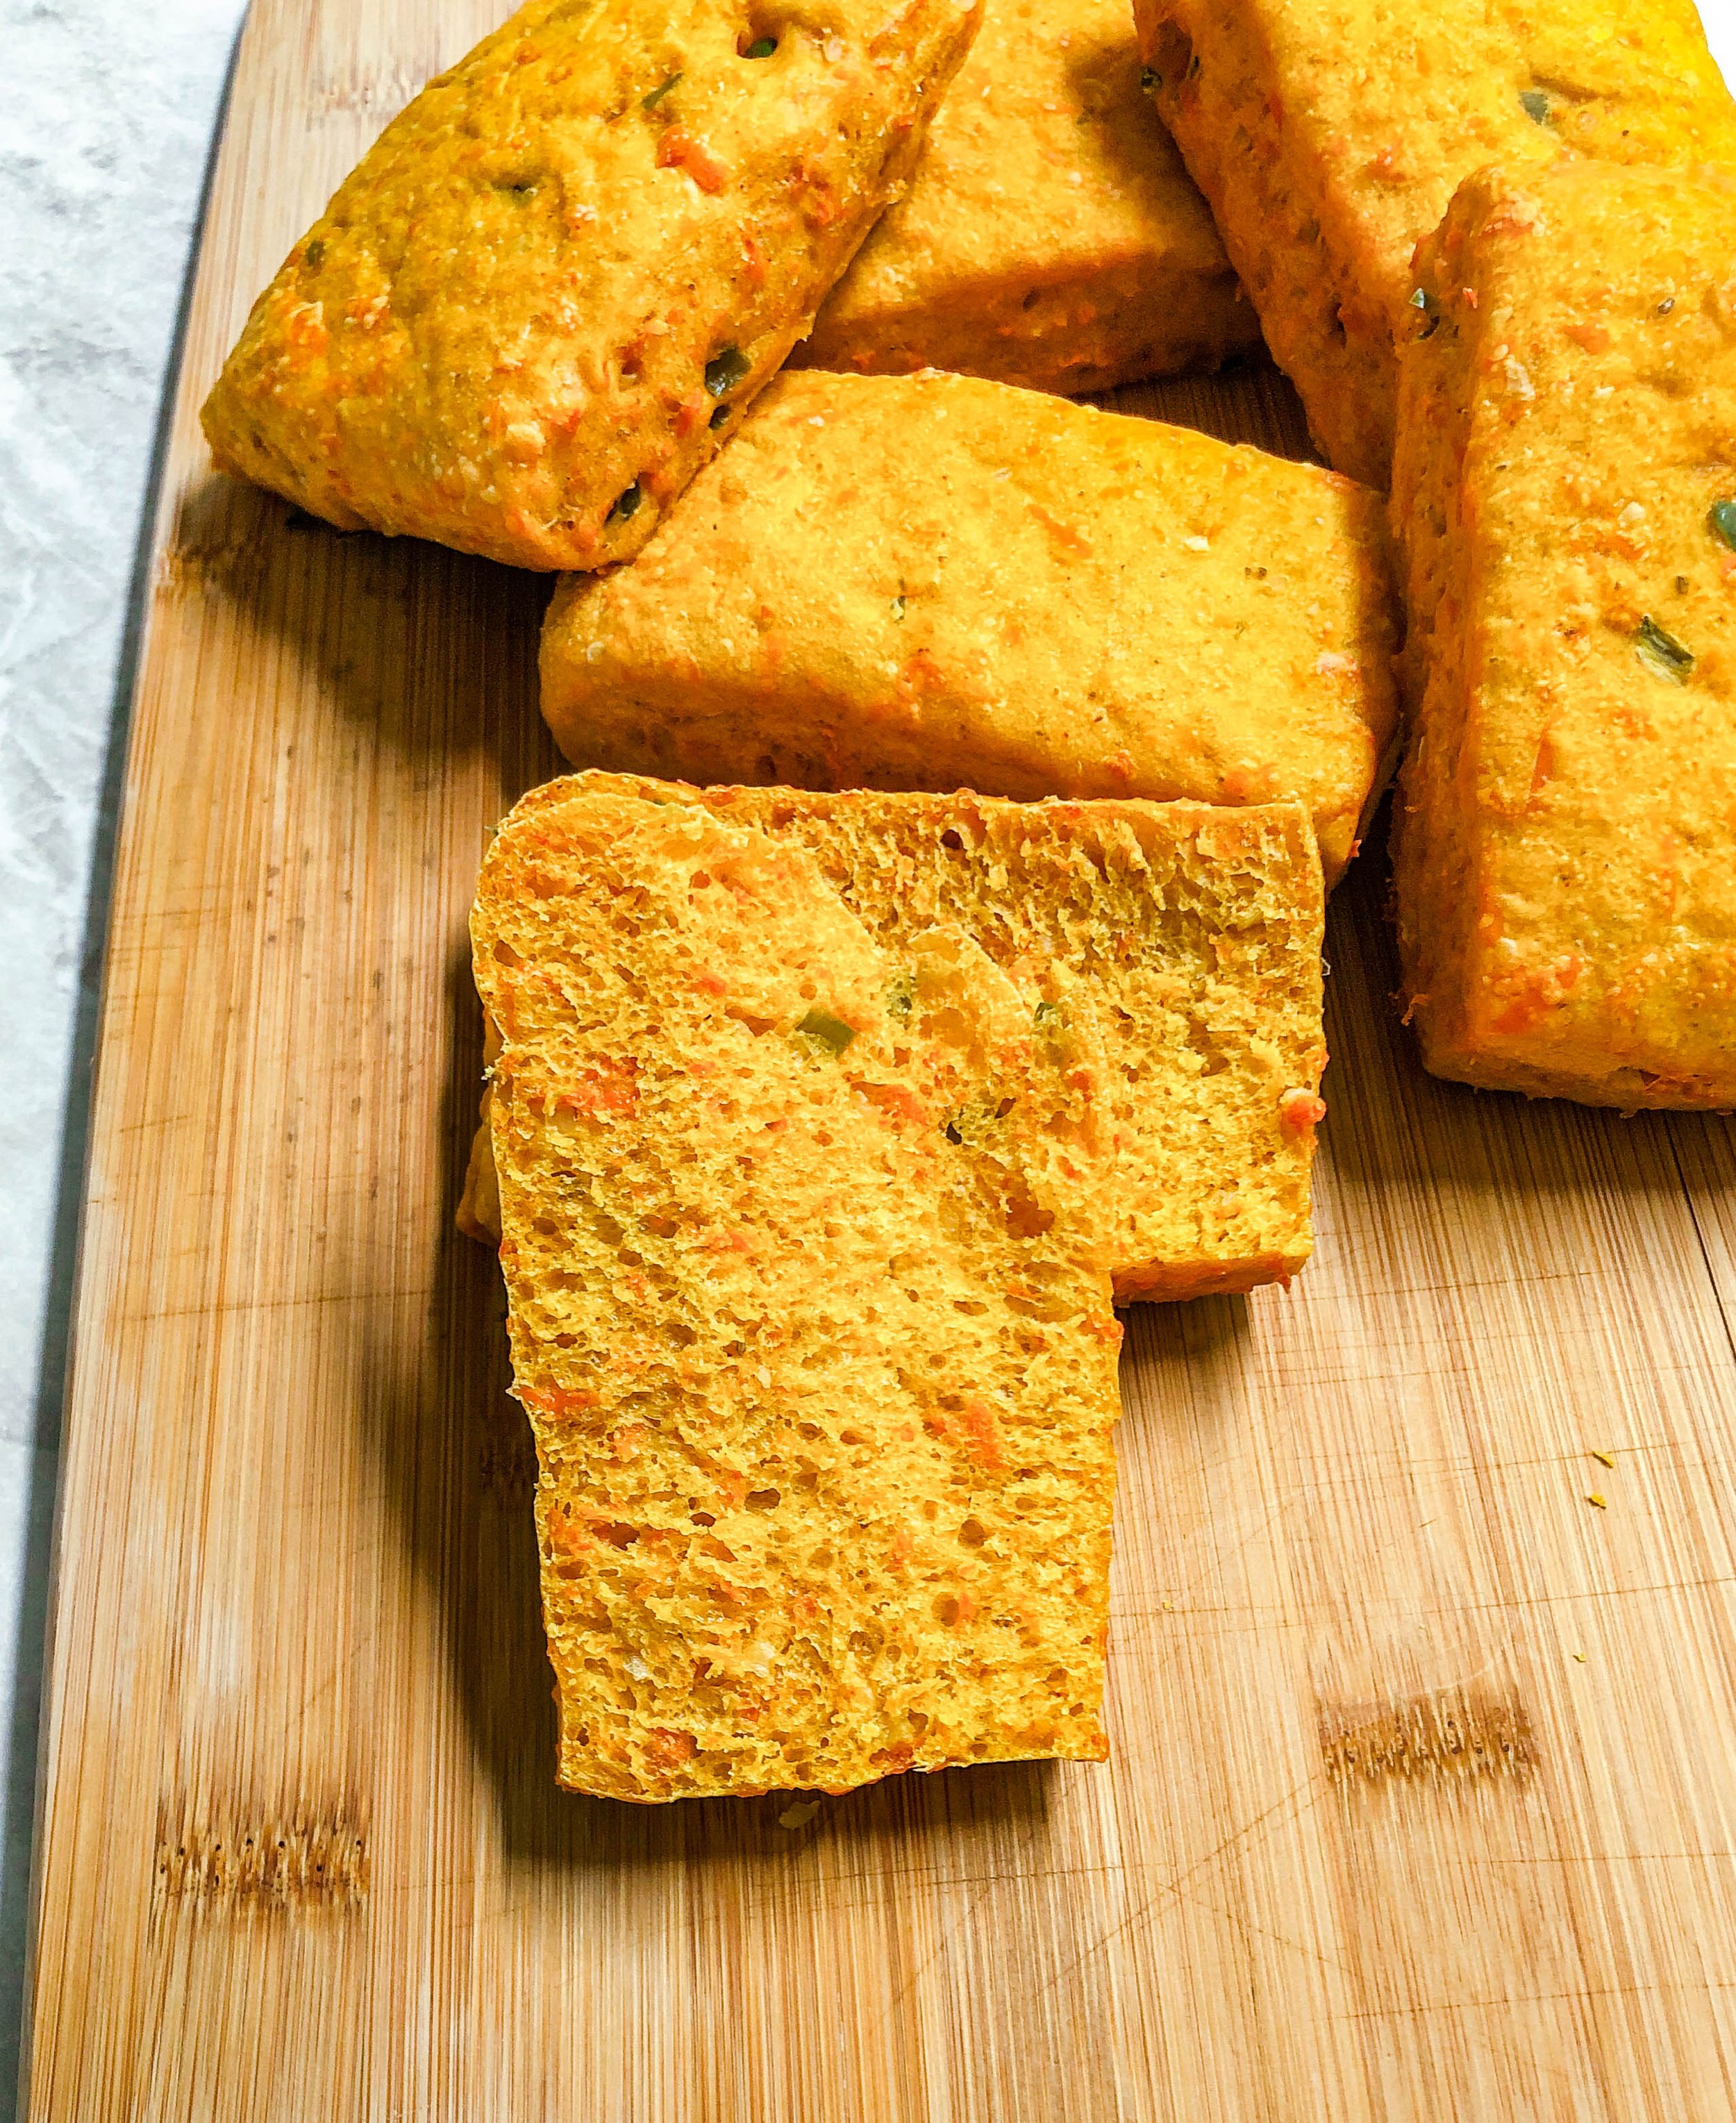
Our Daily Bread - Carrot Chili Sandwich Buns
With a hit of cumin and fresh chili, these soft sandwich buns make for a perfect change to your average sandwich bread.
Our Daily Bread - Carrot Chili Sandwich Buns
Makes 10
These buns are my take on sandwich thins which are thin buns for making sandwiches in an attempt to lessen the bread/carbs eaten for “health” reasons. I firmly believe all food should be eaten in balance. While I don’t think eating less carbs is “healthier”, I can understand wanting to eat fewer carbs in a particular meal. With carrots as the main ingredient, the buns stay soft for a few days of tasty sandwiches.
“Recipe Tips:
1. These buns are on the smaller side, you can play with where you make the cuts to make the buns slightly larger.”
Ingredients
Scald Wet
320g (about 2 1/3 c loosely packed) grated carrot
100ml (0.50 c) water
1g (0.25 t) kosher salt
Scald Finish
98g (0.75 c) whole wheat flour
15g (1 T) granulated sugar
12g (1 T) onion flakes
7g (1.75 t) kosher salt
4g (1 t) gochugaru
3g (0.75 t) ground cumin
30ml (2 T) olive oil
Dough
4g (1 t) instant yeast
325g (2.5 c) bread flour
30ml (2 T) water – as needed
17g (1.5 T) cheongyang or serrano chili, stems and seeds removed, finely minced
Method
Day 1
1. To a medium pot with a tight fitting lid add the carrots, water and salt from “scald wet”.
Stir to combine and place over medium high heat until steaming heavily.
Reduce to medium, cover and simmer for 7 minutes.
While the carrots cook, move on to Step 2.
2. In a large mixing bowl combine the scald finishing ingredients except the oil.
Stir well to combine.
Pour over the cooked carrots and the oil.
Stir well to combine and hydrate the flour.
Cover and cool completely.
3. When cool, add the yeast to the scald and stir well.
Add the flour and stir until no dry flour remains adding additional water as needed if necessary.
Do not add the chili yet.
Turn the dough onto a clean work surface and knead for 7 minutes.
Return to the mixing bowl.
Cover and ferment for 45 minutes.
Fold, sprinkling in the chili among the folds.
To fold: wet your dominant hand and loosen the dough from the bowl flipping the ball of dough over. Press out the dough to even out its thickness. Grab a grip of dough across from you, lift and stretch the dough out a few inches (or until you feel tension, you do not want the dough to tear) then fold it over the center. Turn the bowl 90 degrees and repeat this process, wetting your hand as necessary to prevent sticking, until you reach the point where you began. The dough should have formed a ball at this point. Flip the ball again, placing the “seams” of the dough on the bottom and tuck the dough together to make a ball.
Do not add flour during the folding.
Cover and ferment 30 minutes longer.
Turn the dough onto an unfloured work surface and square fold.
To square fold: flatten the dough into a rough square. Using a bench scraper as necessary to help with sticking fold the edge across form you into the center then fold the edge closest to you over the center pressing well to seal. Bring the left side a little past center then bring the right side over the left pressing well to seal. Flip the square so the “seam” is down.
This fold will add strength like the previous fold while also helping to make rolling the dough into a rectangle easier.
Return to the bowl.
Cover and refrigerate overnight, 12 – 18 hours.
Day 2
4. Place a sheet of parchment paper on a rimmed baking sheet and set aside.
5. Lightly flour the work surface and turn the dough out onto it.
Flatten with your hands to remove large air bubbles then using a rolling pin roll to 38 x 20 cm (15 x 8 in) rectangle with the long sides across from and in front of you.
Measure down from the top 10cm (4 in).
Using this measure, cut across the length of the dough splitting it in half horizontally.
Across the top length of the dough make marks at every 7.5 cm (3 in).
Using these measures, cut down from the top to the bottom creating 5 individual buns on top and bottom.
Place the individual buns about 5 cm (2 in) apart on the sheet.
Cover loosely with oiled plastic wrap.
Proof 30 – 40 minutes or until nearly doubled in bulk.
6. Preheat oven to 200 C / 400 F.
Bake buns for 12 – 14 minutes.
Fully cooked buns will register 94 C / 200 F on an instant read thermometer.
Remove to a cooling rack and cool completely.
7. Cut and fill with your favorite sandwich fillings.