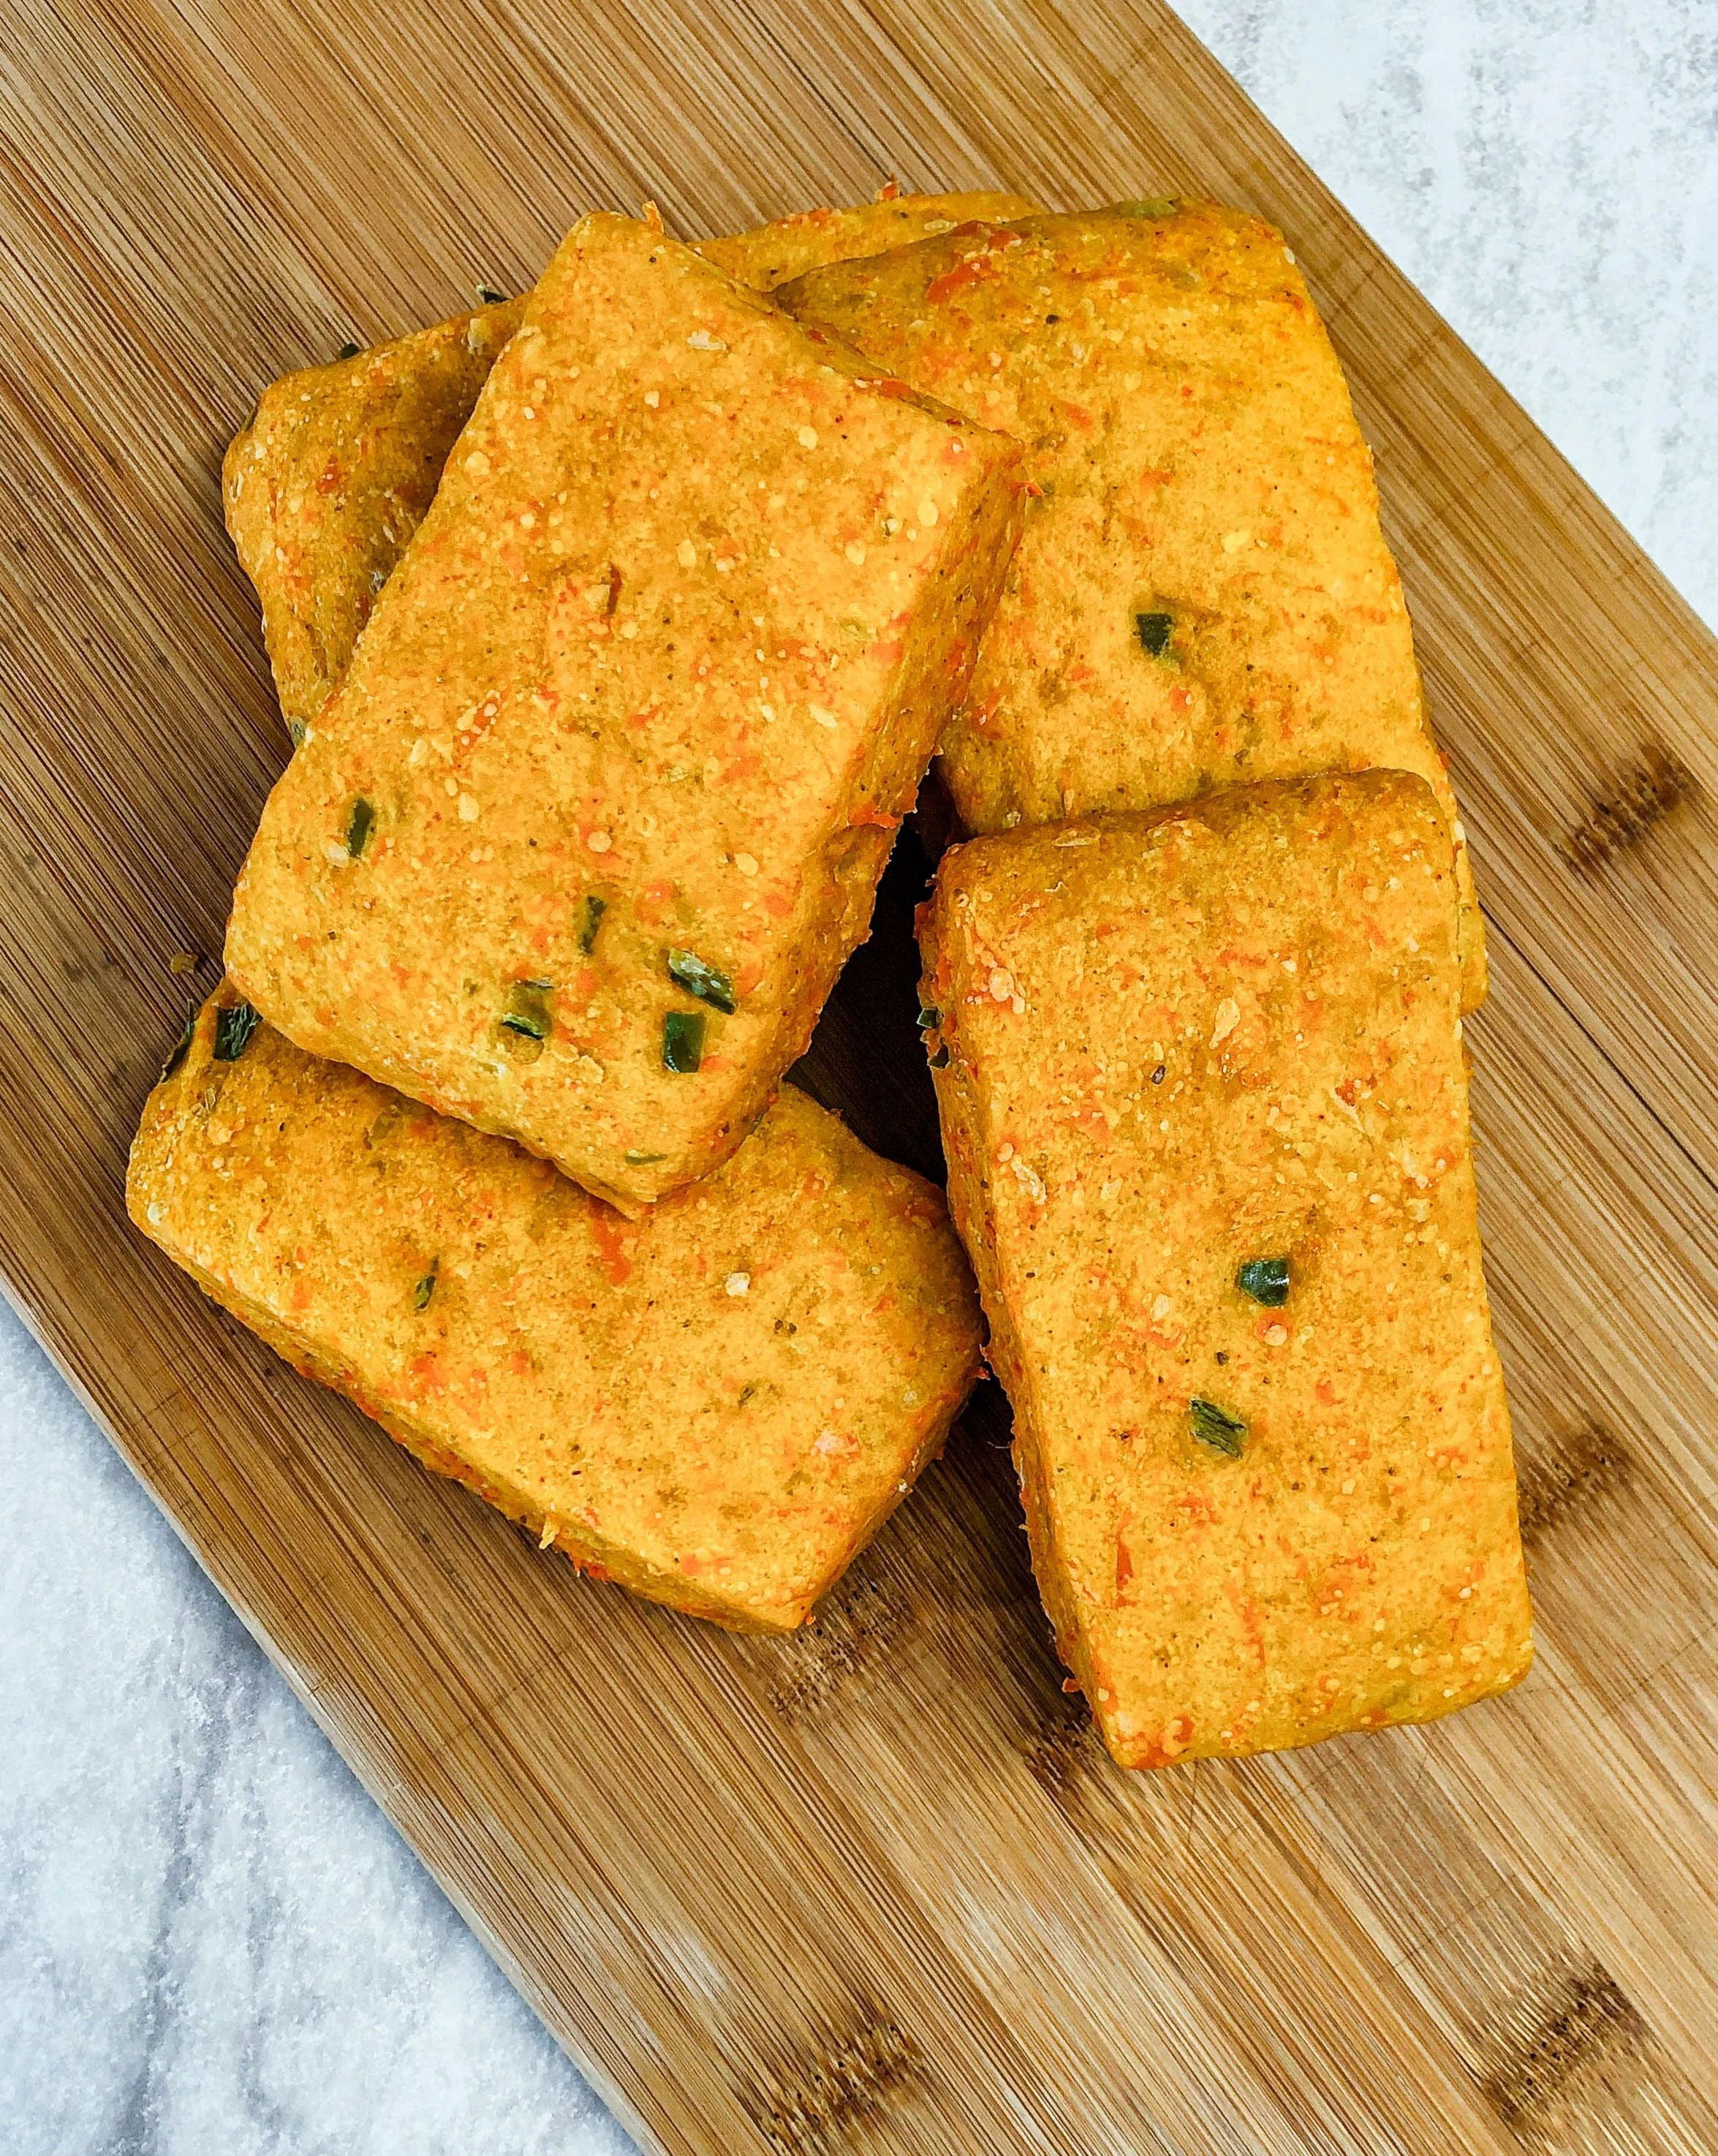
Apple Rose Buns w/ Handmade Brioche
Buttery layered brioche filled with almond crème and tender apples.
Apple Rose Buns w/ Handmade Brioche
Makes 6
The idea for an apple bun that looks like a rose has been floating around in my head for years but, I was never quite sure how I wanted to execute it. Then suddenly one day, it all kind of clicked into place in my head. I tested it and here we are.
These buns are however definitely a project bake but, the work is spread across a few days for convenience with the option to extend a little longer if necessary. Everything starts with brioche which I make by hand. The process can be intimidating but it is something you should give a try. It is super satisfying to be able to make a dough, even one as tricky as brioche by hand. I guild the lily by laminating the brioche with more butter which results in layers within the buns that are fun.
My favorite part about the buns is the flavor, the brioche is buttery and soft with texture added from the almond creme and the tender apples. Contrary to many American apple desserts these buns allow the apple flavor to shine through flavors that compliment the apple without overpowering it like spices sometimes can.
“Recipe Tips:
*1. Making the handmade brioche is the first step in these buns. Going in, making the dough will be a generally sticky and “messy” business but, the dough will come together. Unless mentioned try not to add additional flour to the board rather rely on continual scraping of the board and your hands to bring the dough together and to mitigate the sticking.
**2. Ideally, it is best to use a high butter fat butter such as Kerrygold or a European style butter.
***3. In place of the jujube you can also use 2 – 3 medium sized dates that have been deseeded then used as the recipe instructs for the jujube.
****4. Use your favorite baking/cooking apple.”

Ingredients
*Brioche
150g (3 large) cold eggs
36g (3 T) cold water
36g (2.5 T) sugar
7g (1.75 t) kosher salt
5g (1.25 t) instant yeast
2g (0.50 t) vanilla extract
311g (2.25 c + 2 T) bread flour
84g (6 T) butter, cubed and kept cold
Butter Block
**54g (4 T) butter, softened
Ginger Almond Crème
30g (1 T) yuja cheong
24g (2 T) boiling water
***25g (5 medium) jujube, deseeded
1 large egg
54g (6 T) whole roasted almonds
20g (1 T) crystallized ginger, chopped
42g (3 T) butter, softened
30g (2 T) white sugar
15g (1 T) dark brown sugar
13g (4 t) cornstarch
2g (0.50 t) kosher salt
2g (0.50 t) vanilla extract
1g (0.25 t) almond extract
Filling
****568g (1.25 lbs) cooking apples, unpeeled
Recipe Know-how
Day 1 – Brioche and Butter Block
1. In a medium mixing bowl, add the eggs, water, sugar, salt, yeast and vanilla, mixing well until combined.
Add the flour and mix until a dough forms.
On an unfloured work surface, knead the dough for 3 minutes.
The dough will be sticky but do not add additional flour, use a bench scraper to scrape your hands and the work surface as necessary and continue to knead.
Flatten the dough and add the butter. Seal the butter in and using your hands squeeze the dough and butter together to force the butter into the dough.
This step will be messy as the dough and butter will not want to combine initially but, continue to scrape your hands and the board and continue squeezing.
The mixture will seem like it will never come together but be patient and keep squeezing and mixing it together. The dough will become homogeneous.
Continue combining the butter into the dough until homogeneous, approximately 2 – 3 minutes.
Using the slap and fold method, knead the dough until smooth, shiny and no longer sticky. This will take 5 – 7 minutes.
To slap and fold: place your hands at 12 o’clock and 6 o’clock on the dough, lift up and turn a quarter turn (your hands will be at 3 and 9) “slap” the bottom of the dough against the work surface. Stretch the dough in your hands toward yourself and “fold” or “throw” the dough over the dough on the table. Quickly remove your hands from the dough and place your hands at 12 and 6 again and repeat for the time period listed.
This can take up to 10 minutes to reach the proper consistency, you are looking for the dough to be smooth and no longer sticky.
Using a regular kneading method, knead the dough for 3 minutes longer.
Place in a bowl, cover and ferment for 1 hour.
If your kitchen is particularly warm, you should refrigerate the dough for this first hour of fermentation. It will give the dough and butter a chance to cool down to ensure a better final product.
On a lightly floured surface, smooth side down, give the dough a fold.
To fold: flatten the dough and starting at the point directly across from you, gently lift and pull out a few inches. Fold over the center of the dough, turn less than a quarter turn and repeat the process working around the dough. When you reach the starting point again, seal the folds together then turn the dough onto the seal. Pull against the work surface turning after each pull to tighten.
Return to the bowl and ferment for 1 hour longer.
If you refrigerated the dough before, you will not have to here. Allow the dough to sit at room temperature.
Repeat the folding process and return to the bowl.
Cover and refrigerate overnight.
Butter Block
2. Using a 31cm (12 in) long piece of parchment with the long sides facing you and across from you begin to fold.
Fold the left side of the parchment to the right and crease well.
Turn the parchment so the crease is nearest you and the open fold across from you.
Fold the top down 5cm (2 in) and crease well.
Fold each side in 9cm (3.5 in) and crease well.
3. Open the folded square and place the butter in then seal again.
Flip the square placing the folds on the bottom.
Using a gentle beating motion with your rolling pin, flatten the butter then smooth the rolling pin over the surface pushing the butter into all of the corners of the square and flat.
Refrigerate overnight.
Day 2 – Lamination, Filling, Shaping and Baking
4. In a small bowl, combine the yuja cheong, water and jujube. Allow to sit covered until needed.
Remove the butter block from the fridge and sit at room temperature for 5 minutes before moving on to the next step.
5. On a lightly floured surface roll the brioche dough into a 20.5 (8 in) square.
Try to keep the shape as square as possible.
Place the butter block on the dough so it is shaped like a diamond against the dough.
The butter block should be pliable (it should bend without breaking when you lift the corner of the block from the parchment) and lightly chilled, not soft and spreadable. If it is too cold, refrigerate it and the dough until the proper consistency is reached.
Pull the sides of the dough into the center, brushing away any excess flour and press the folds together well to seal the butter into the dough.
Flip the dough and roll the dough into a rectangle that is 3x the length of the square.
Lightly flour the dough and work surface as needed to prevent sticking.
Turn the dough a quarter turn so the long sides are facing you and across from you.
Fold the right side almost all the way to the center and repeat on the left side.
There should be a slight 1.5cm (0.50 in) gap between the folds.
Brush excess flour off the dough then fold the left side over the right.
This is called a book fold.
Wrap in plastic and refrigerate for 45 minutes.
Continue on to Step 6.
6. Add the almonds and jujube mixture along with any remaining liquid to a food processor.
Pulse to break down the almonds and jujube.
Add the remaining ingredients and blend until smooth scraping down the food processor bowl as necessary.
Remove to a bowl, cover and refrigerate.
7. On a lightly floured surface, place the chilled dough with the short ends facing you and across from you.
Roll the dough to 3x its length then turn a quarter turn so the long sides are now facing and across from you.
Bring the right side of the dough a little over the center. Brush off the dough and bring the left side over the right evening out the dough as necessary.
The dough will look like a folded comforter.
Cover and refrigerate 1 hour.
If desired you can pause the process here and continue on the next day.
8. Cut the unpeeled apples in half longitudinally.
Using a melon baller or knife, carefully remove the core and stem of the apple.
Cut the apples into 0.25 in half moon slices.
Evenly lay the slices on a microwave safe plate.
Microwave in 2 minute intervals until the apple slices easily bend without breaking, about 5 – 6 minutes depending on the number of layers of apple and the strength of the microwave.
Cool completely.
9. Remove the almond crème from the fridge, mix to combine and place into a piping bag.
Line a rimmed baking sheet with parchment and set aside.
10. On a lightly floured surface, roll the dough into a 38.5 x 30.5cm (15 x 12 in) rectangle with the long sides in front of and across from you.
Cut the dough into 6 strips of about 6.5cm (2.5 in) wide.
Working one piece at a time, gently roll the dough to 7.5cm (3 in) wide.
Beginning 0.25 in from the left edge, pipe the almond crème onto the upper middle of a strip of dough to the right edge (you can pipe the crème to the edge here).
In an overlapping line skin side facing away from you, lay the apples on top of the crème with about 0.25 in of the apple laying over the top edge of the dough.
Bring the bottom of the dough up and over the bottom of the apples making it almost level with the top of the dough.
The apples should be enclosed in dough but the top of the apple should still be exposed.
Starting from the right edge, roll the bun toward the left edge, wrapping the left edge under the bun at the end before placing on the prepared pan.
Repeat with the remaining dough, crème and apples placing the buns about 3cm (1.25 in) apart.
Cover loosely and rise for 1.5 – 2 hours or until nearly doubled in size.
11. Preheat oven to 180 C / 350 F.
Bake the buns for 25 – 30 minutes, until well browned.
Fully cooked buns should register 94 C / 200 F or higher when tested.
Cook to room temperature.
12. Dust with powdered sugar before serving.